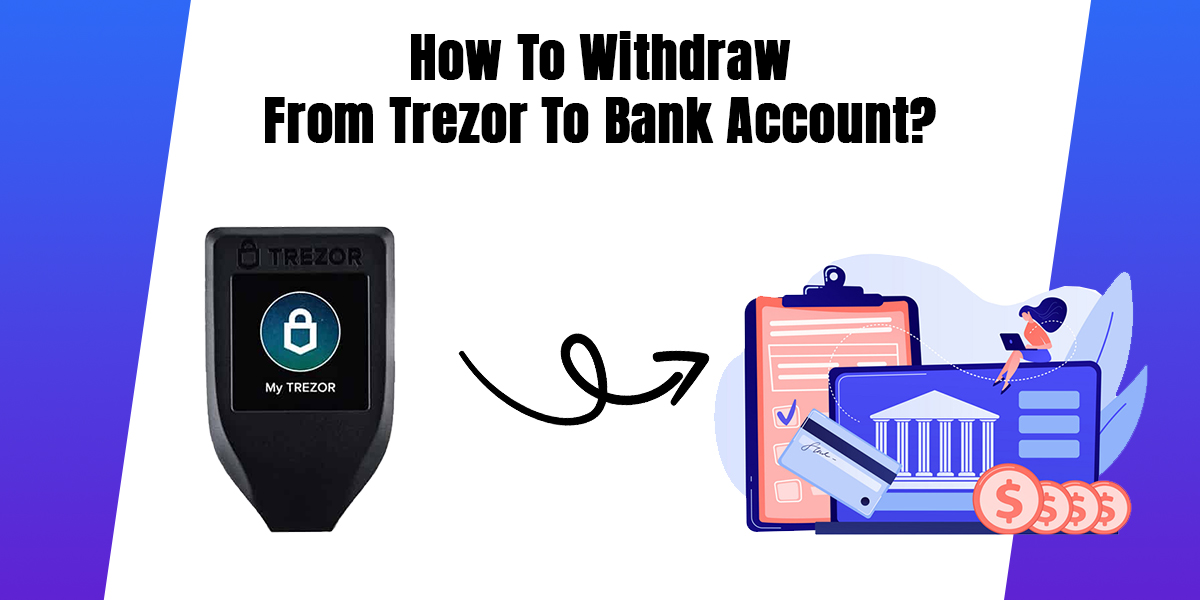
Withdraw From Trezor To Bank Account–
In the modern day, Cryptocurrencies have been in the mainstream. Many people are looking for better ways to convert their cryptocurrency into Fiat money. Trezor wallet is the ultimate hardware wallet that develops in 2013 by SatoshiLabs. Are you looking to Withdraw From Trezor To Bank Account safely? Trezor wallet is an amazing wallet for getting a better level of security, especially for storing private keys.
Also Read:- How To Contact Crypto.Com By Phone
Why Choose Trezor Wallet
Trezor offers amazing features that include connecting via a USB cable. Normally, the Trezor devices will be in a unique shape which is housed in a plastic casing. These are sleek designs suitable for gaining better storage attributes.
- High-level security
- Open-source platform
- Touchscreen colored display
- Wide variety of supported cryptocurrencies
- Regular firmware updates
Trezor goes old school with the advanced security feature. These will be the suitable option for making a quick withdrawal and storing the cryptos in a hassle-free manner. You can simply withdraw from Trezor to a bank account as Trezor wallet enables the user to gain amazing encrypted storage. Trezor can also use to encode PIN as well as safeguard the physical device against any kind of serious attack.
It is also quite a convenient option to disable function intentionally or even make a factory reset the device. These have a user-friendly interface that helps the user to carry out transactions in the crypto market. Using the online currency exchange service will be a suitable option for getting the complete attribute in saving more time for the transactions.
Use A Trezor Wallet To Withdraw From Trezor To Bank Account.
Most people are concerned about the physical theft of the device, but the Trezor wallet is quite advanced in safeguarding your cryptos. These also remove the SC card and store a different location so it will be worthless even when the wallet is stolen. Trezor wallet offers the password manager option, so it is quite convenient to unlock the password manager anytime for sending the cryptos in a unique manner.
- Connect Trezor Device
- Input your PIN number
- Select ‘Trezor Account’
- Choose ‘Receive’
- Verify ‘Address’
- Select ‘Address’
- Log in to Coinbase
- Select “accounts” on the dashboard
Normally, there are many cryptocurrency exchange services allowing the user to transfer the funds from Trezor to the bank account directly. There are some companies that accept wire transfers and credit card payments for deposits and withdrawals. It is quite a convenient option to withdraw from Trezor to a bank account and also one of the safer bets for transferring money to a bank account.
Create A Secure Address To Withdraw Trezor
Are you looking to send Bitcoin or any other cryptocurrency? Private keys are useful for easily moving it to the preferred new address. These will be a suitable option to use the keys really private, and they need to be created offline using the cryptographic method in the most secure way.
Trezor Hardware wallets are a suitable option for creating the keys without having any realistic chance of being generated. These are suitable options for safely sending cryptos in a unique method. You can follow the below steps to generate the new address in the Trezor Suite.
- Open the Trezor wallet
- Go to your account
- Click on ‘Receive’
- Click ‘Show full address‘
- Trezor will display the address on its screen
- Compare the address shown in Trezor Suite with another as shown on the Trezor device.
- Copy the address to your clipboard when both addresses match
- Use a QR code when it’s supported by the exchange
Normally, it is quite an easier option for creating an account in the Trezor wallet, and they are the suitable option for sending or receiving the cryptos to the bank account more unique manner. The Trezor wallet is a safer platform for you to easily get the complete method for sending or even receiving cryptos without any hassle.
Withdraw Bitcoin To Cold Storage
Setting up the Trezor device and creating the account on Trezor Wallet involves easily transferring of the funds. Exchanging the cryptos is much unique and safer option for everyone. You can try the following for other exchanges.
- Open exchange account
- Navigate through the menu
- Reach page called withdrawals
- There is also category, such as transactions or balances
- Select the coin to withdraw
- Make it on the correct network
- Bitcoin should not be sent as an ERC20
- Paste withdrawal address
- Scan QR code created by Trezor
- Confirm transaction
- Perform any authentication as required
Simple Way To Withdraw Cryptos
Account numbers along with the routing numbers will be stored using bank-level encryption on servers. All traffic goes over SSL, so it is easier to prevent third parties from eavesdropping on a secure network.
Trezor wallet can be a suitable option for easily getting the perfect stability in the withdrawal of the cryptos. These banking credentials will not be sent to the wallet or shared with a third party. Are you looking to pay in the Trezor Suite? You can follow
the below steps to easily make payments in Trezor Suite.
- Plug in Trezor device
- Go to the Accounts page in Trezor Suite
- Choose an account for cryptocurrency
- Send with ‘My accounts’ side-bar menu
- Tap ‘Send’ in the account menu
- It also reveals the “Send transaction” Menu
- Enter destination address
- Enter the amount
- Press the ‘Scan’ button
- Press the ‘+ Add recipient button.’
- Send funds to addresses in one transaction
It is easier to type the destination address for your transaction, and these are efficient options for scanning from the QR scan codes. Allow Trezor Suite access to your camera to scan a QR code. You can easily hold the QR codes in front of the camera so they will be scanned. Now you can easily enter the amount that you like to send.
You need to remember Fiat currency exchange rates for estimating the currency exchange range that is provided. It is quite a convenient option to click the ‘Send Max’ button to send the funds to the Bank account.
Now you can press the ‘+ Add recipient button to easily send the funds to any number of addresses in a single transaction. It is also quite a convenient option for adding the address in a more convenient manner. These would save more money for every transaction fee.
Set Transaction Fees:
Normally, there are 4 different methods of priority that includes High, Normal, Economy, and Low. The fees are used for funding the running of the network, so these are not charged by SatoshiLabs. It is also an easier option for setting custom fees.
Labeling:
Trezor Suite has the Labeling feature through the Application settings menu. Users can easily access or store the labels using a Dropbox account or Google Drive. It is also quite an efficient option for saving labels locally on the computer.
Confirm The Transaction To The Bank Account:
After making a transaction on your Trezor device, you need to confirm the transactions. You can check the amount of the transaction in the destination address. Press ‘Confirm’ after checking the amount and address are correct.
Conclusion:
Follow the above steps to easily withdraw from Trezor to your bank account. Trezor device displays the total amount of the transaction with the transaction fee. Check them while using the device to confirm the transaction.